
Quickstart
This guide takes you from a brand-new account to your first confirmed booking. It should take about fifteen minutes.
1. Create your account
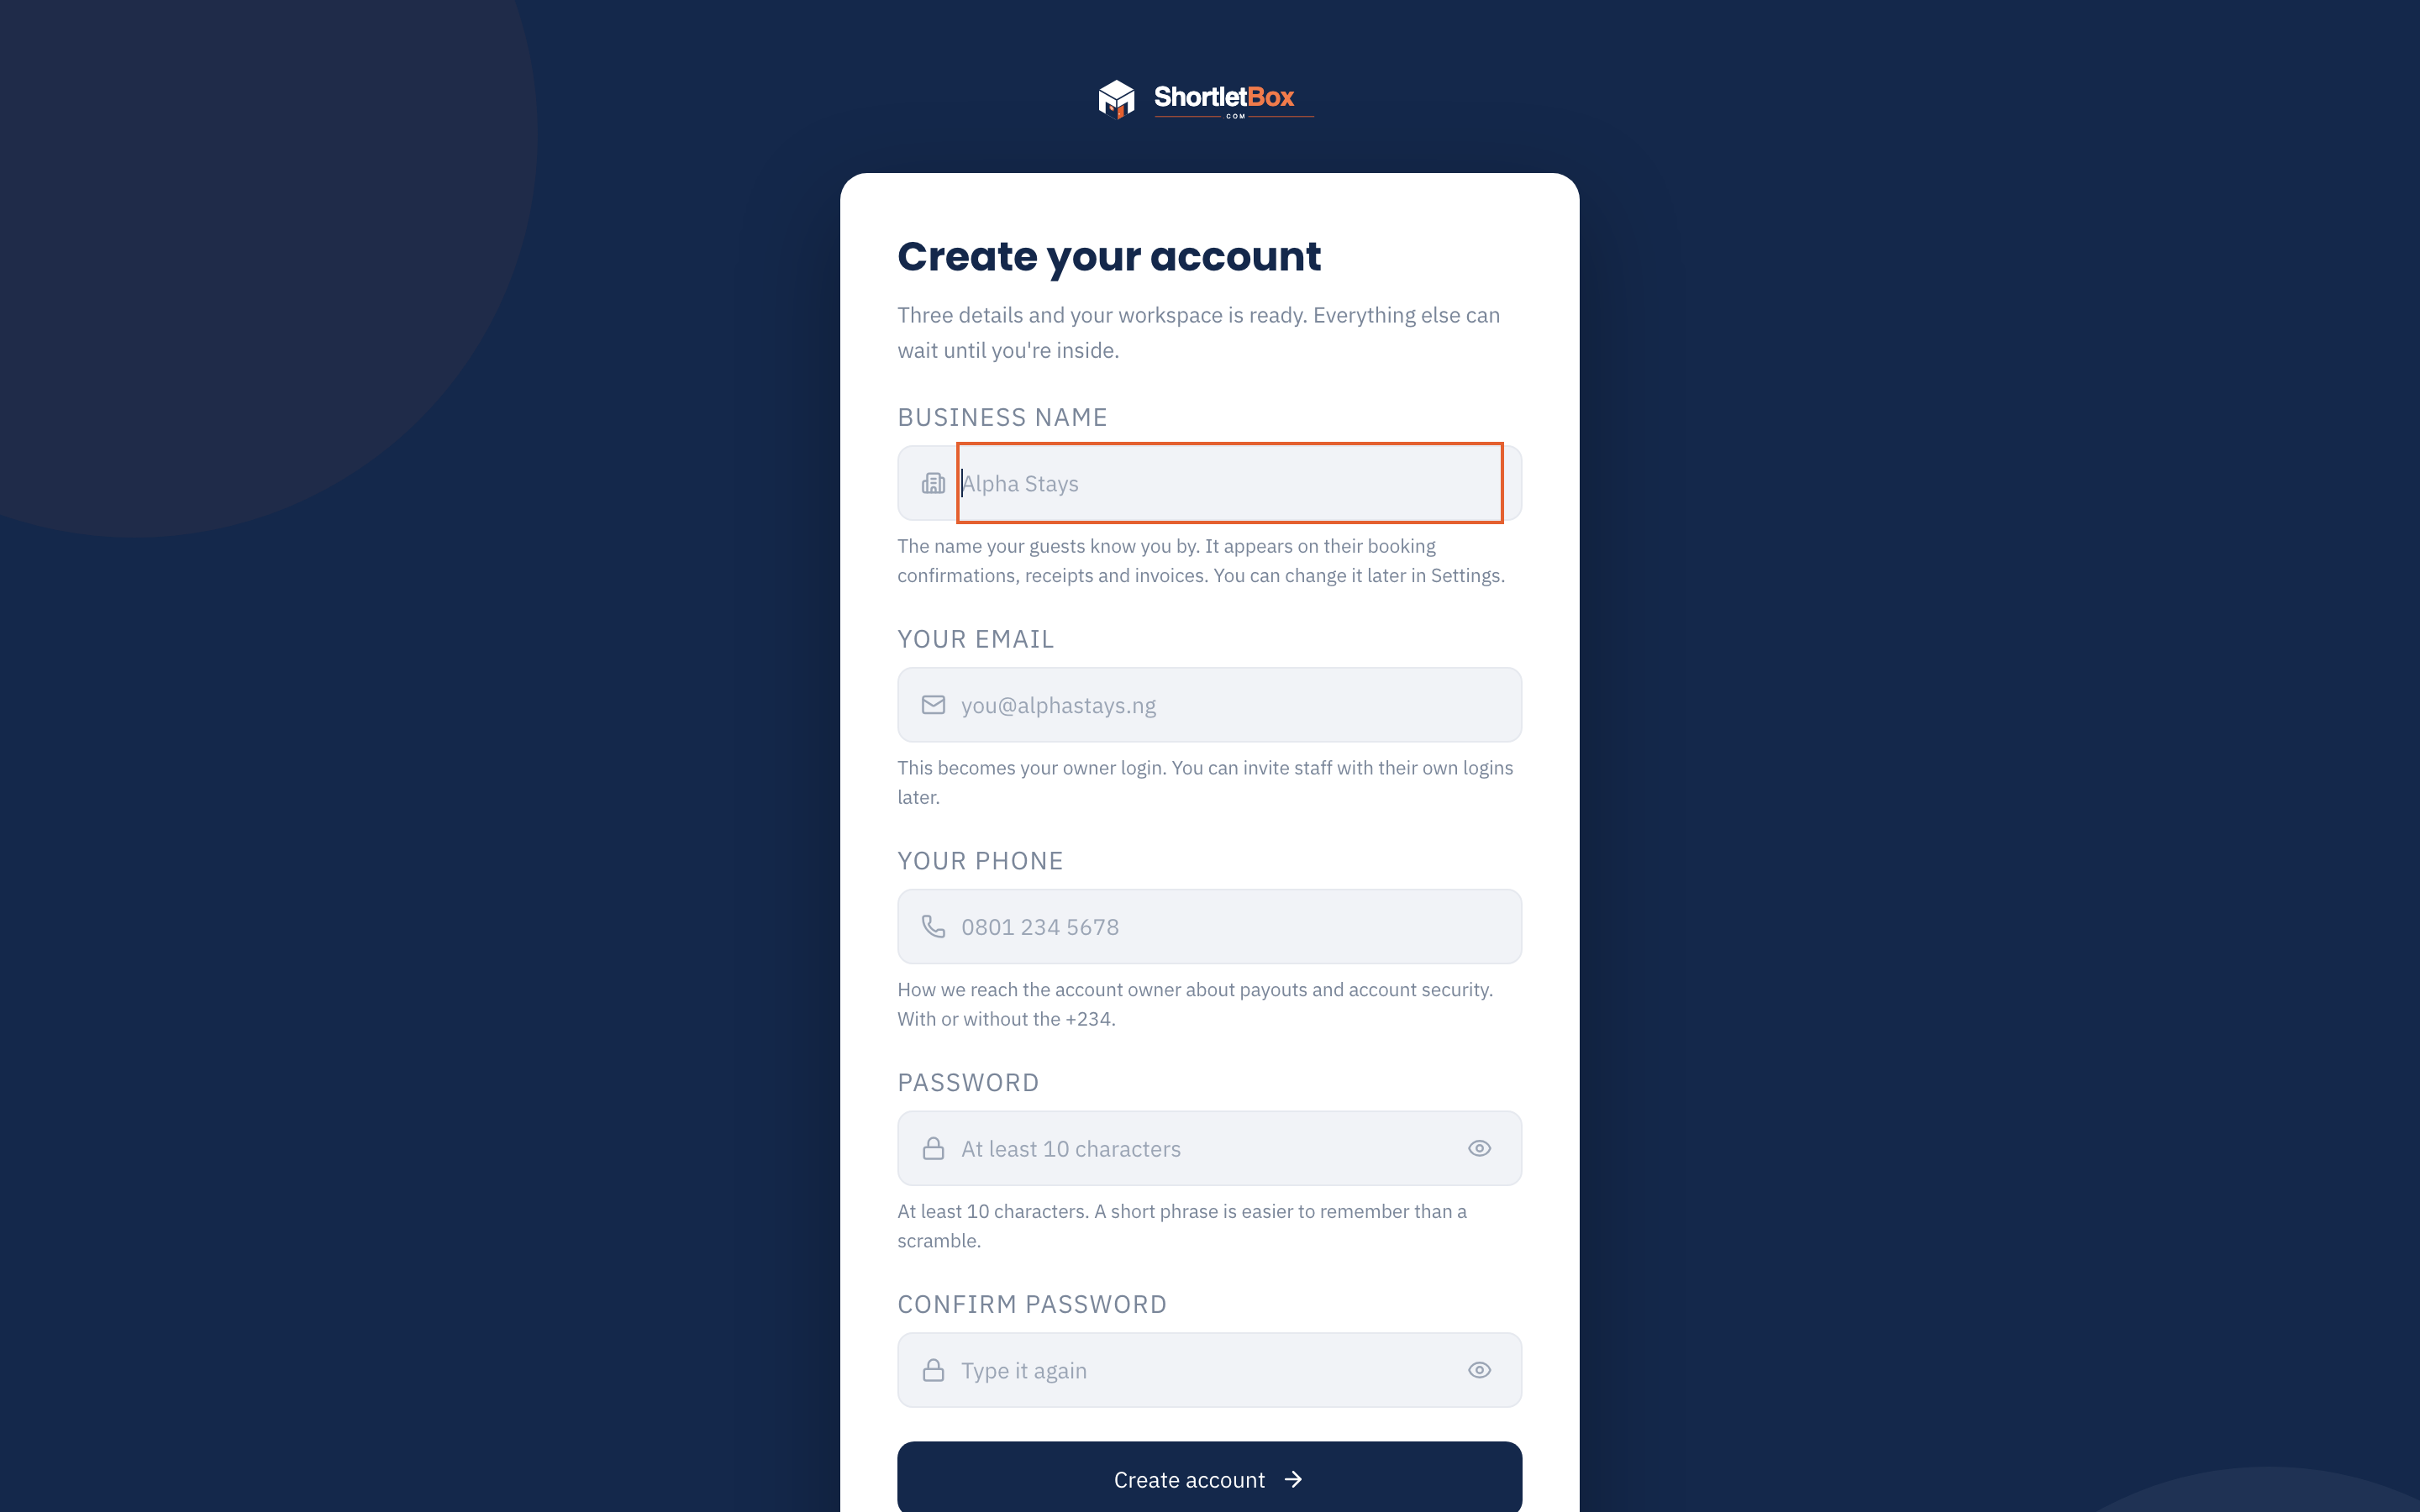
Section titled “1. Create your account”Go to the ShortletBox app and choose Create your account. Signup asks for your business name, your email address, your phone number (how we reach the account owner about payouts and account security), and a password of at least 10 characters, typed twice.
You’ll receive a verification email. Click the link within 48 hours to open your admin. New accounts start on the Free plan (up to 10 bookings a month), and you can upgrade any time from Billing.
2. Work through the onboarding checklist
Section titled “2. Work through the onboarding checklist”Your dashboard greets you with a four-step checklist. Only the first step is required; the rest can wait.
- Add your first property (required). Nothing else works without one.
- Connect Airbnb / Booking.com (optional). See Channel sync.
- Set up payouts (optional). Identity verification needs a paid plan. See Payout verification.
- Invite your team (optional). See Team & access.
The checklist reads live from your workspace: it ticks itself as you do the work, and it can be dismissed once the first property exists.
3. Add your first property
Section titled “3. Add your first property”Go to Properties → New property. The form is organised into sections:
- Overview: name, location, description, bedrooms, bathrooms, maximum guests.
- Visibility: Published controls whether the property appears on your public booking site; Featured pins it to the top.
- Pricing & policy: nightly rate, minimum stay, length-of-stay discount tiers, deposit policy, and whether guests request to book (you approve each request) or instant book.
- Amenities and Photos.
Full detail in Properties & pricing.
4. Share your booking site
Section titled “4. Share your booking site”Every workspace gets a public booking site at its own subdomain. Go to Booking site in the sidebar for every way to share it: your org-wide link, per-apartment links, downloadable QR codes, and an embed snippet you can paste into an existing website.
The site only lists properties marked Published, and the whole site can be switched off from Settings if you’re not ready.
5. Take your first booking
Section titled “5. Take your first booking”Bookings arrive three ways:
- A guest requests to book on your public site. It appears in Bookings as Awaiting approval (with a badge count in the sidebar). Open it and choose Approve: if a deposit is owed the guest automatically receives a payment link with a 48-hour hold, and if nothing is owed the booking confirms immediately.
- You create it yourself with the New Booking button in the top bar, ideal for walk-ins and phone bookings. Admin-created bookings are confirmed immediately, and you can record cash or transfer payments directly on the booking.
- You email a negotiated offer from Bookings → Send booking link. ShortletBox holds the dates for 48 hours at the exact nightly rate you enter. The guest pays the required deposit, or the full amount when no deposit is configured. See Bookings.
If you sell through independent agents, owners and admins can also create an agent storefront with assigned properties, current availability and the agent’s WhatsApp contact. The agent page starts the conversation; you create the attributed booking in admin.
Once payment lands, the guest automatically receives their check-in link to upload ID and agree to your house rules before arrival.
That’s the core loop: request → approve → paid → checked in. Everything else in ShortletBox (messaging, invoicing, reports, channel sync) hangs off this loop, and each has its own page in the Features section.